电子墨水屏音乐相册

文章目录
背景
事情还要从一年前,我做的墨水屏早教机说起。https://www.zhangshengdong.com/post/baby_epaper/
虽然这个早教机宝宝的确很喜欢玩,是吸引注意力的一大利器。但架不住这个墨水屏刷新实在太慢,几乎要20秒,所以导致宝宝只有在图片刷出来时,才会看它一眼,这样就显得鸡肋了。
所以,最近我就在想,有什么是不关注刷新时间的呢?
嗯,就是早年间流行过的 音乐相册。
音乐相册
其实从早教机改成音乐相册并不复杂。
早教机讲究的是对应的图片和讲解音频同时出现、同时切换,而音乐相册则是照片的展示和音乐无关。
所以我直接开两个进程,让它们一个播放音乐,一个展示照片,各玩各的就行啦。但由于机身上只有一对按键,所以最后权衡再三,决定用这一对按钮来控制音乐的上下切换。
大体程序如下:
| |
自动转换照片
但只到这一步是不够的,因为由于我的墨水屏只有7色,所以这时候每张照片都得要我亲自打开photoshop,载入颜色表,把照片转换成7元色表示才能用。这样一来,照片多了工作量就大大不可接受了。
所以我需要在树莓派上能够自动完成任意照片的转换。
最简单的思路:最近距离法
第一个想到的方案自然就是最近距离法了,即判断每个像素点距离色表中每个颜色的远近,从而把该像素设置为离它原有颜色最近的那个元色。
代码:
| |
但这个初始方案很快就被现实给打脸了。
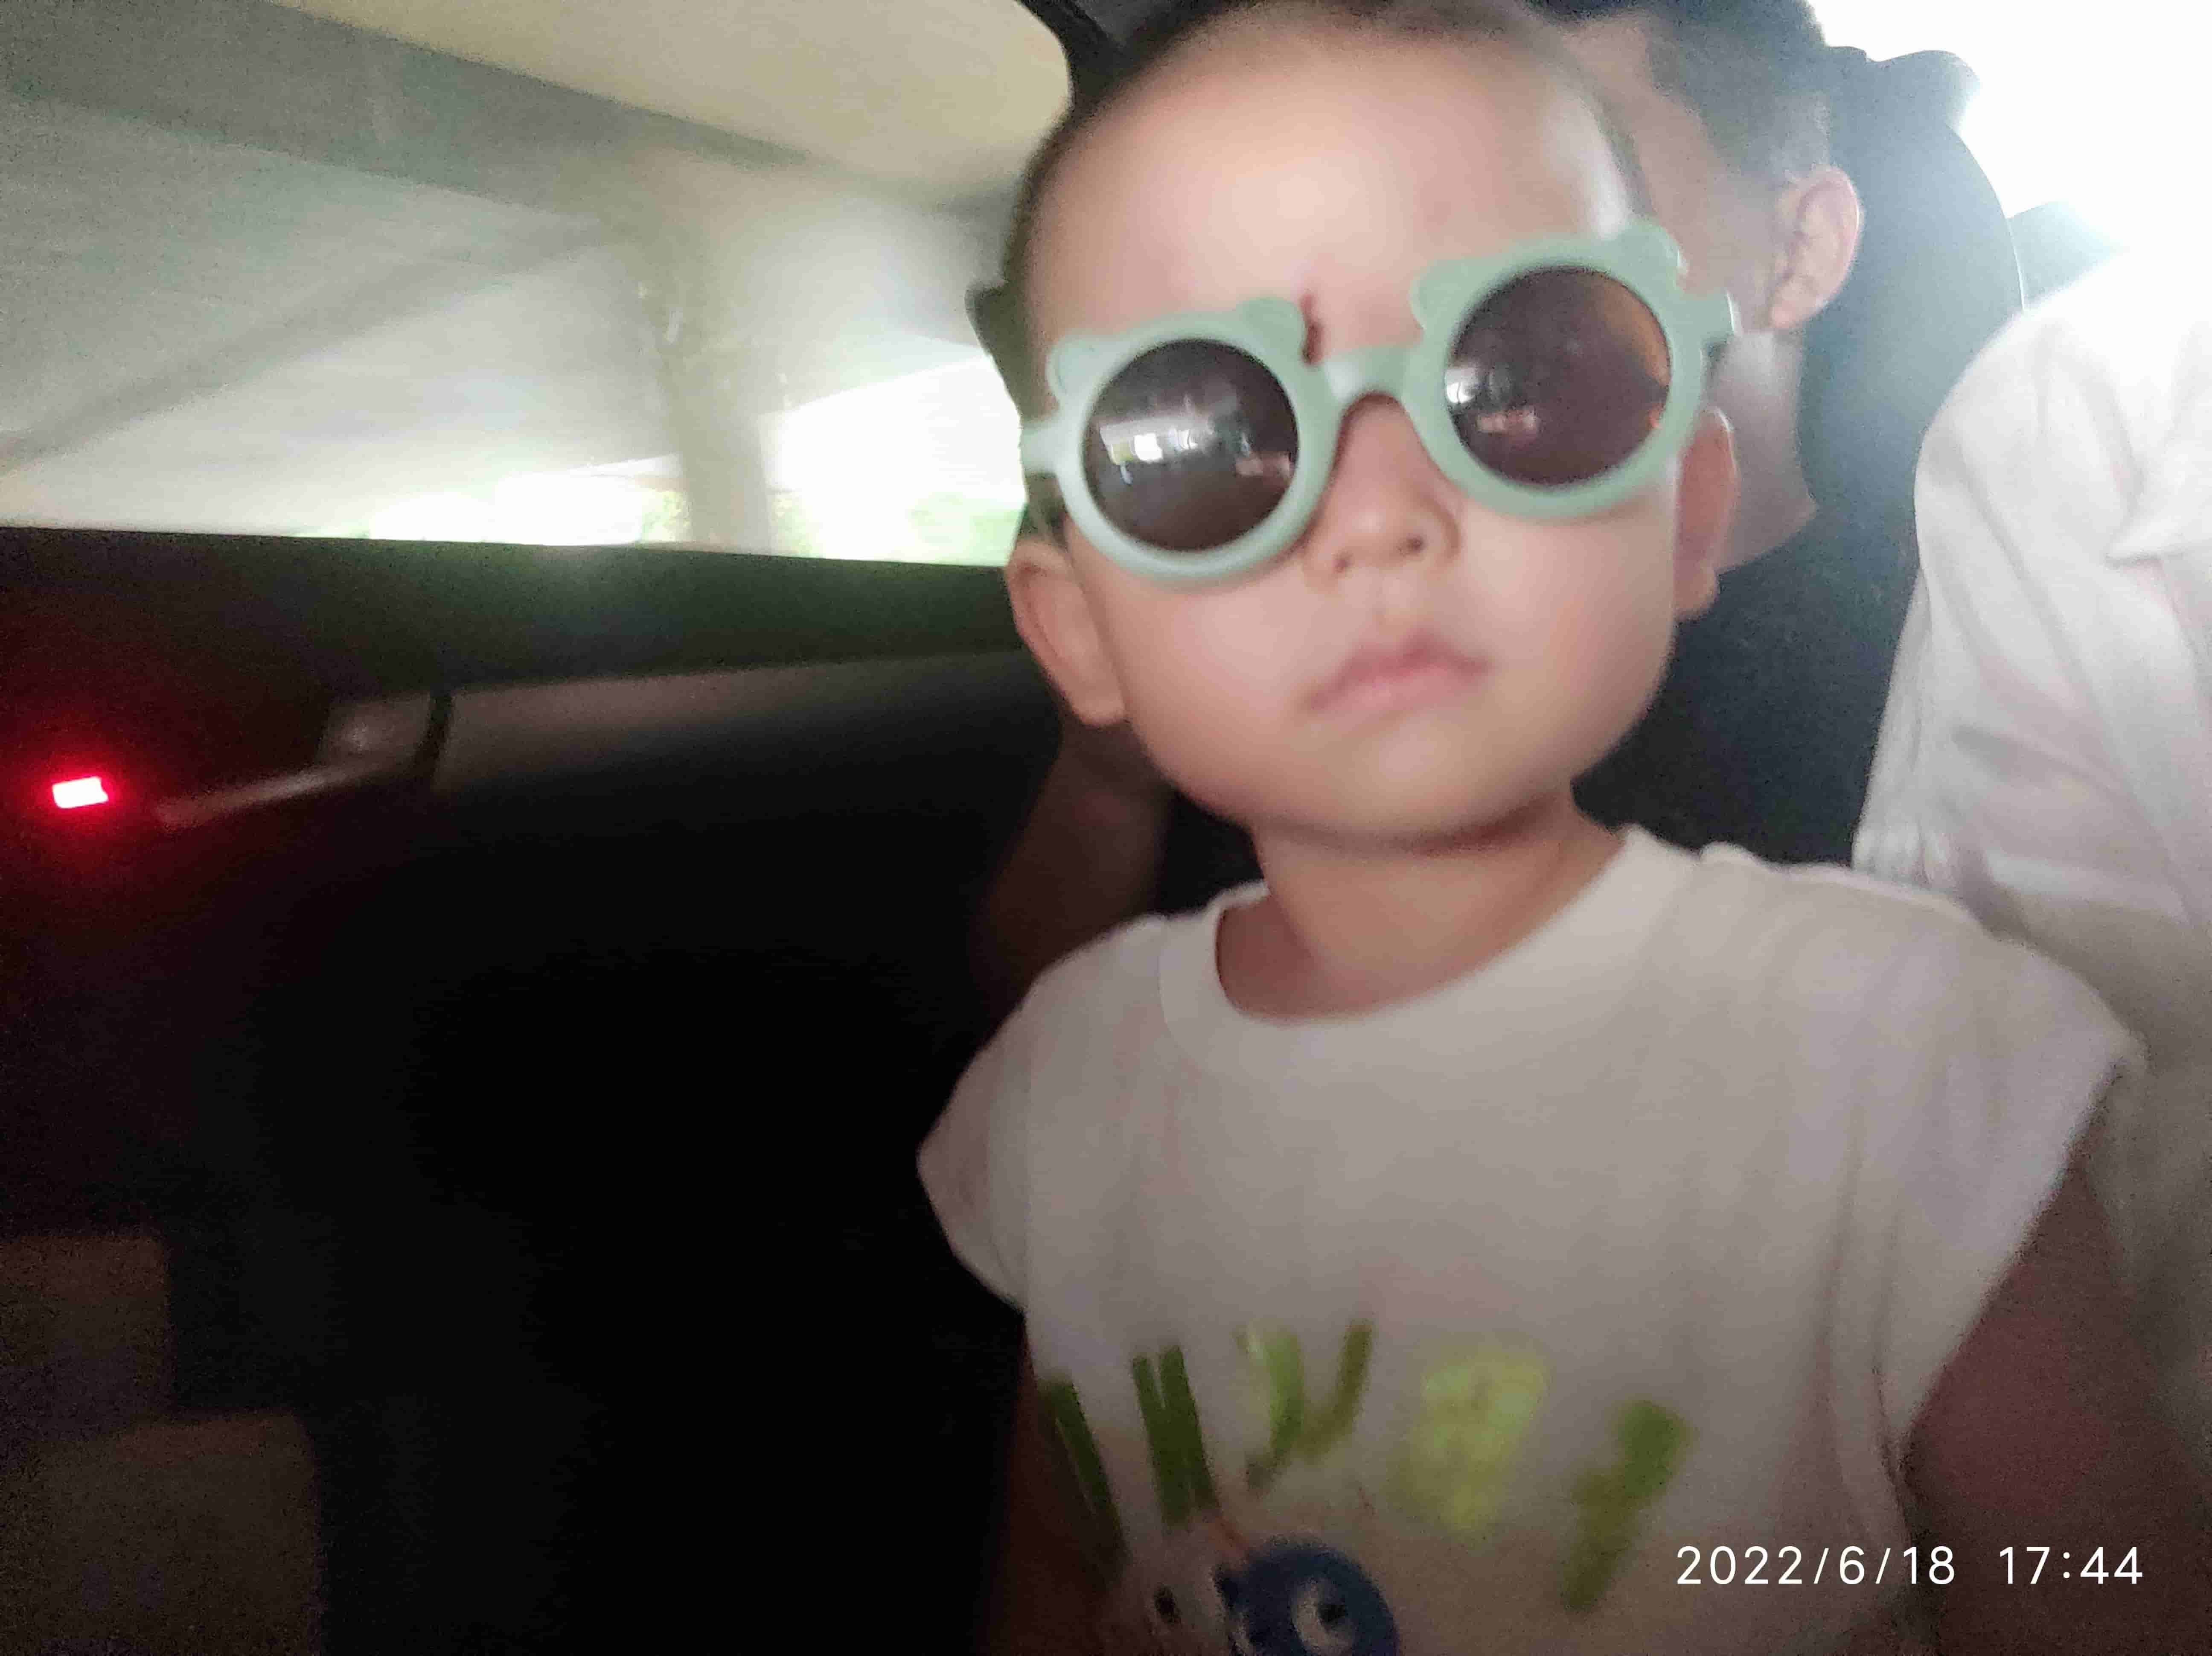
原图:
最近距离法:
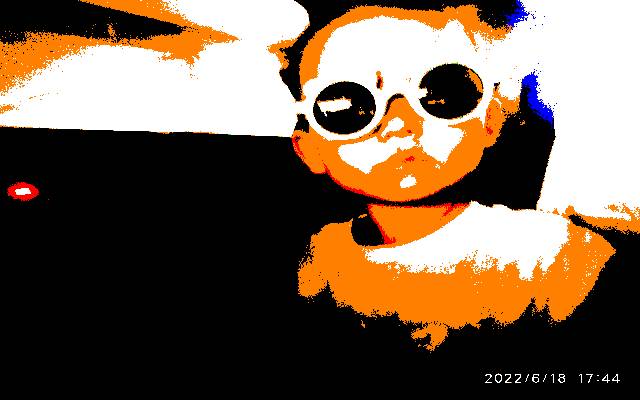
可以发现,最近距离法转换出的就是色块,变成了剪影的效果,可以说毫无观感可言,几乎不能用了。
色彩均衡
粗略的分析了一下,感觉可能是因为这张照片的颜色大体偏黑,所以最近距离转换出来就变成以黑白橙为主了。
那如果原因是这样的话,我是不是可以对它做一下类似白平衡的色彩均衡操作,就可以把7元色都显示出来了呢?
代码:
| |
色彩均衡:
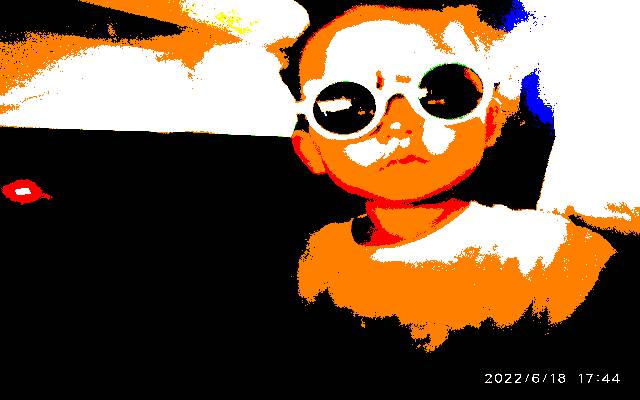
可以发现,红色、蓝色、黄色的区域都变大了,还增加了一点点绿色,可以说的确是实现了刚才的目的:把7元色都显示出来。但这依旧没用啊,这个效果是绝对不能够使用的。
Floyd-Steinberg扩散抖动算法
所以我就在想,那原先手动用photoshop处理时,它是用的什么算法呢?
一通搜索,就发现了Floyd-Steinberg扩散抖动算法。
这个算法相当于是,将像素使用我们的方法一最近距离法进行标准化后,所产生的误差叠加到相邻像素上,从而利用误差扩散实现抖动,最终使得平均量化误差最小。
通俗一点说就是,它把误差分担到周边的像素上去,用周边这一团像素来模拟原图中的这一团区域。
代码:
| |
Floyd-Steinberg扩散抖动算法:
哇,效果上完胜啊!惊艳!
缓存
那么最后,由于不管是哪种算法,都需要逐一像素点的处理,哪怕是在树莓派上使用了多线程、进程,也还要近7分钟之久。
所以就加入了缓存机制,在读取图片时,会先去查找有没有已经处理好的缓存文件,若没有才会真的进行转换处理。
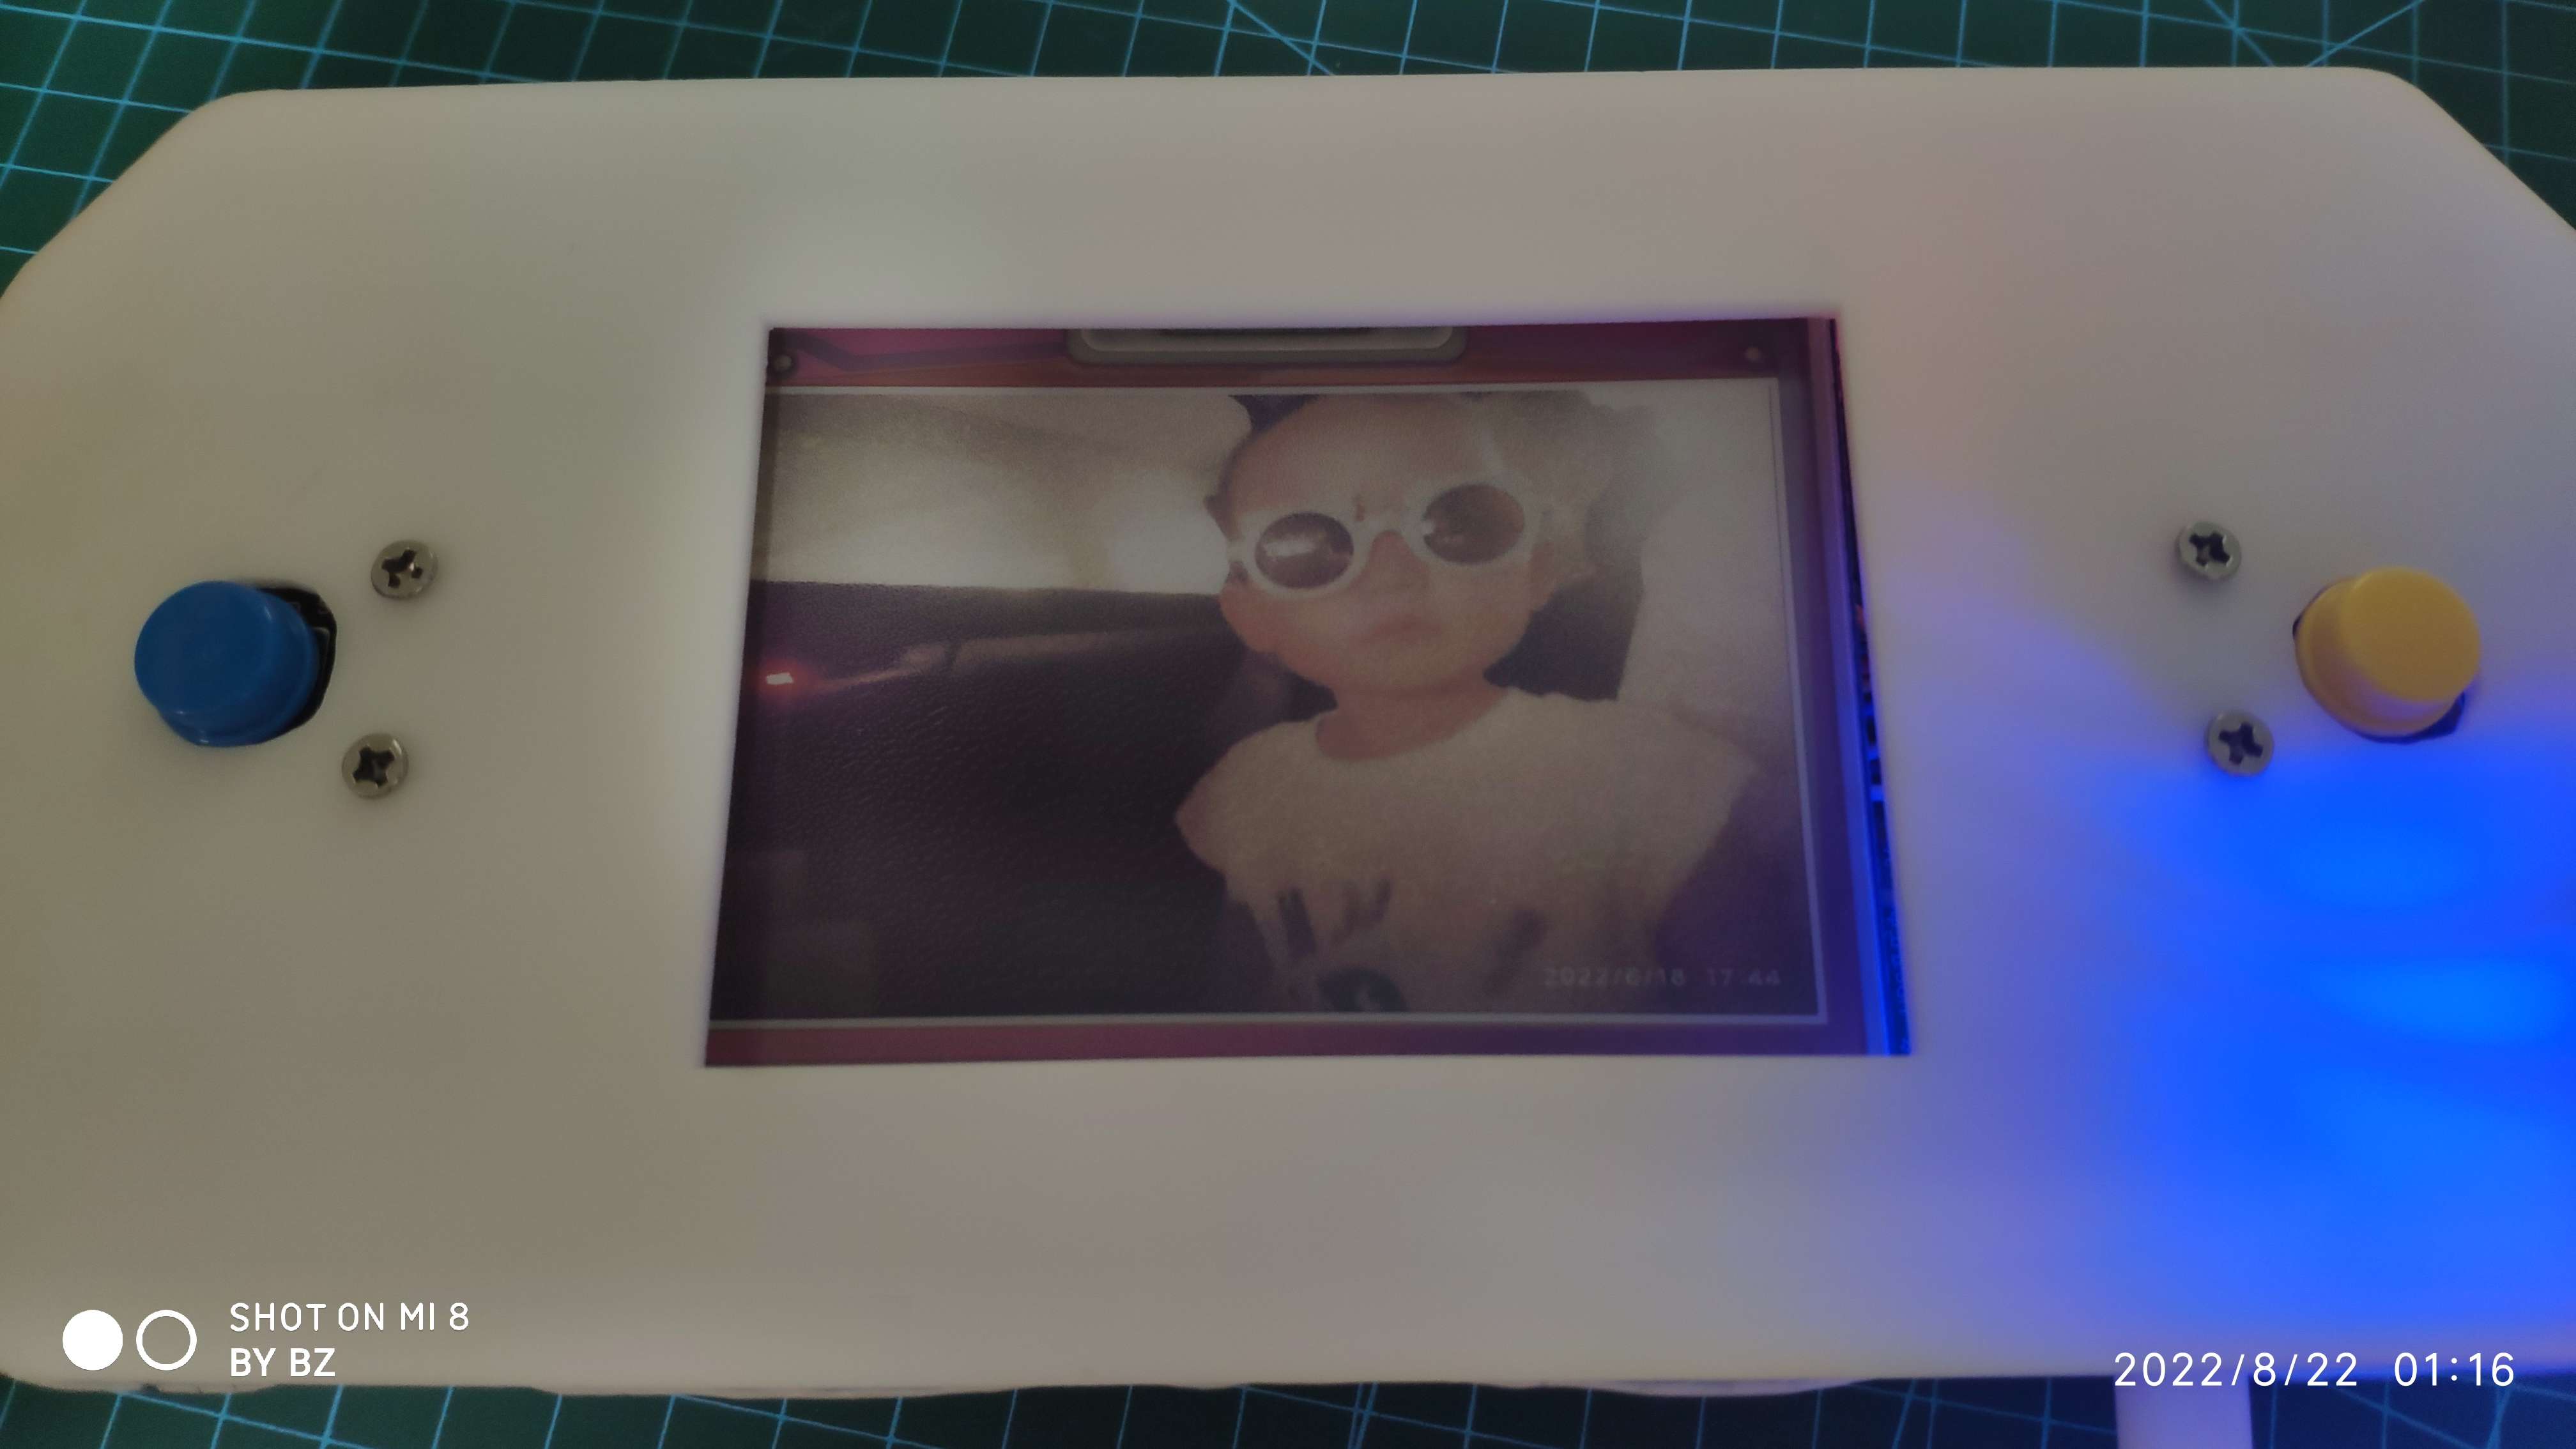
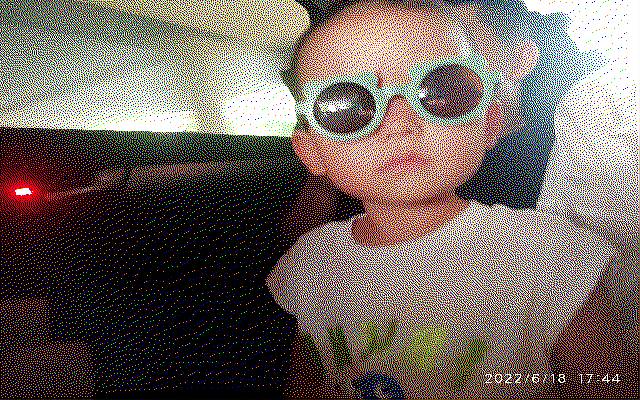
最终实现照: